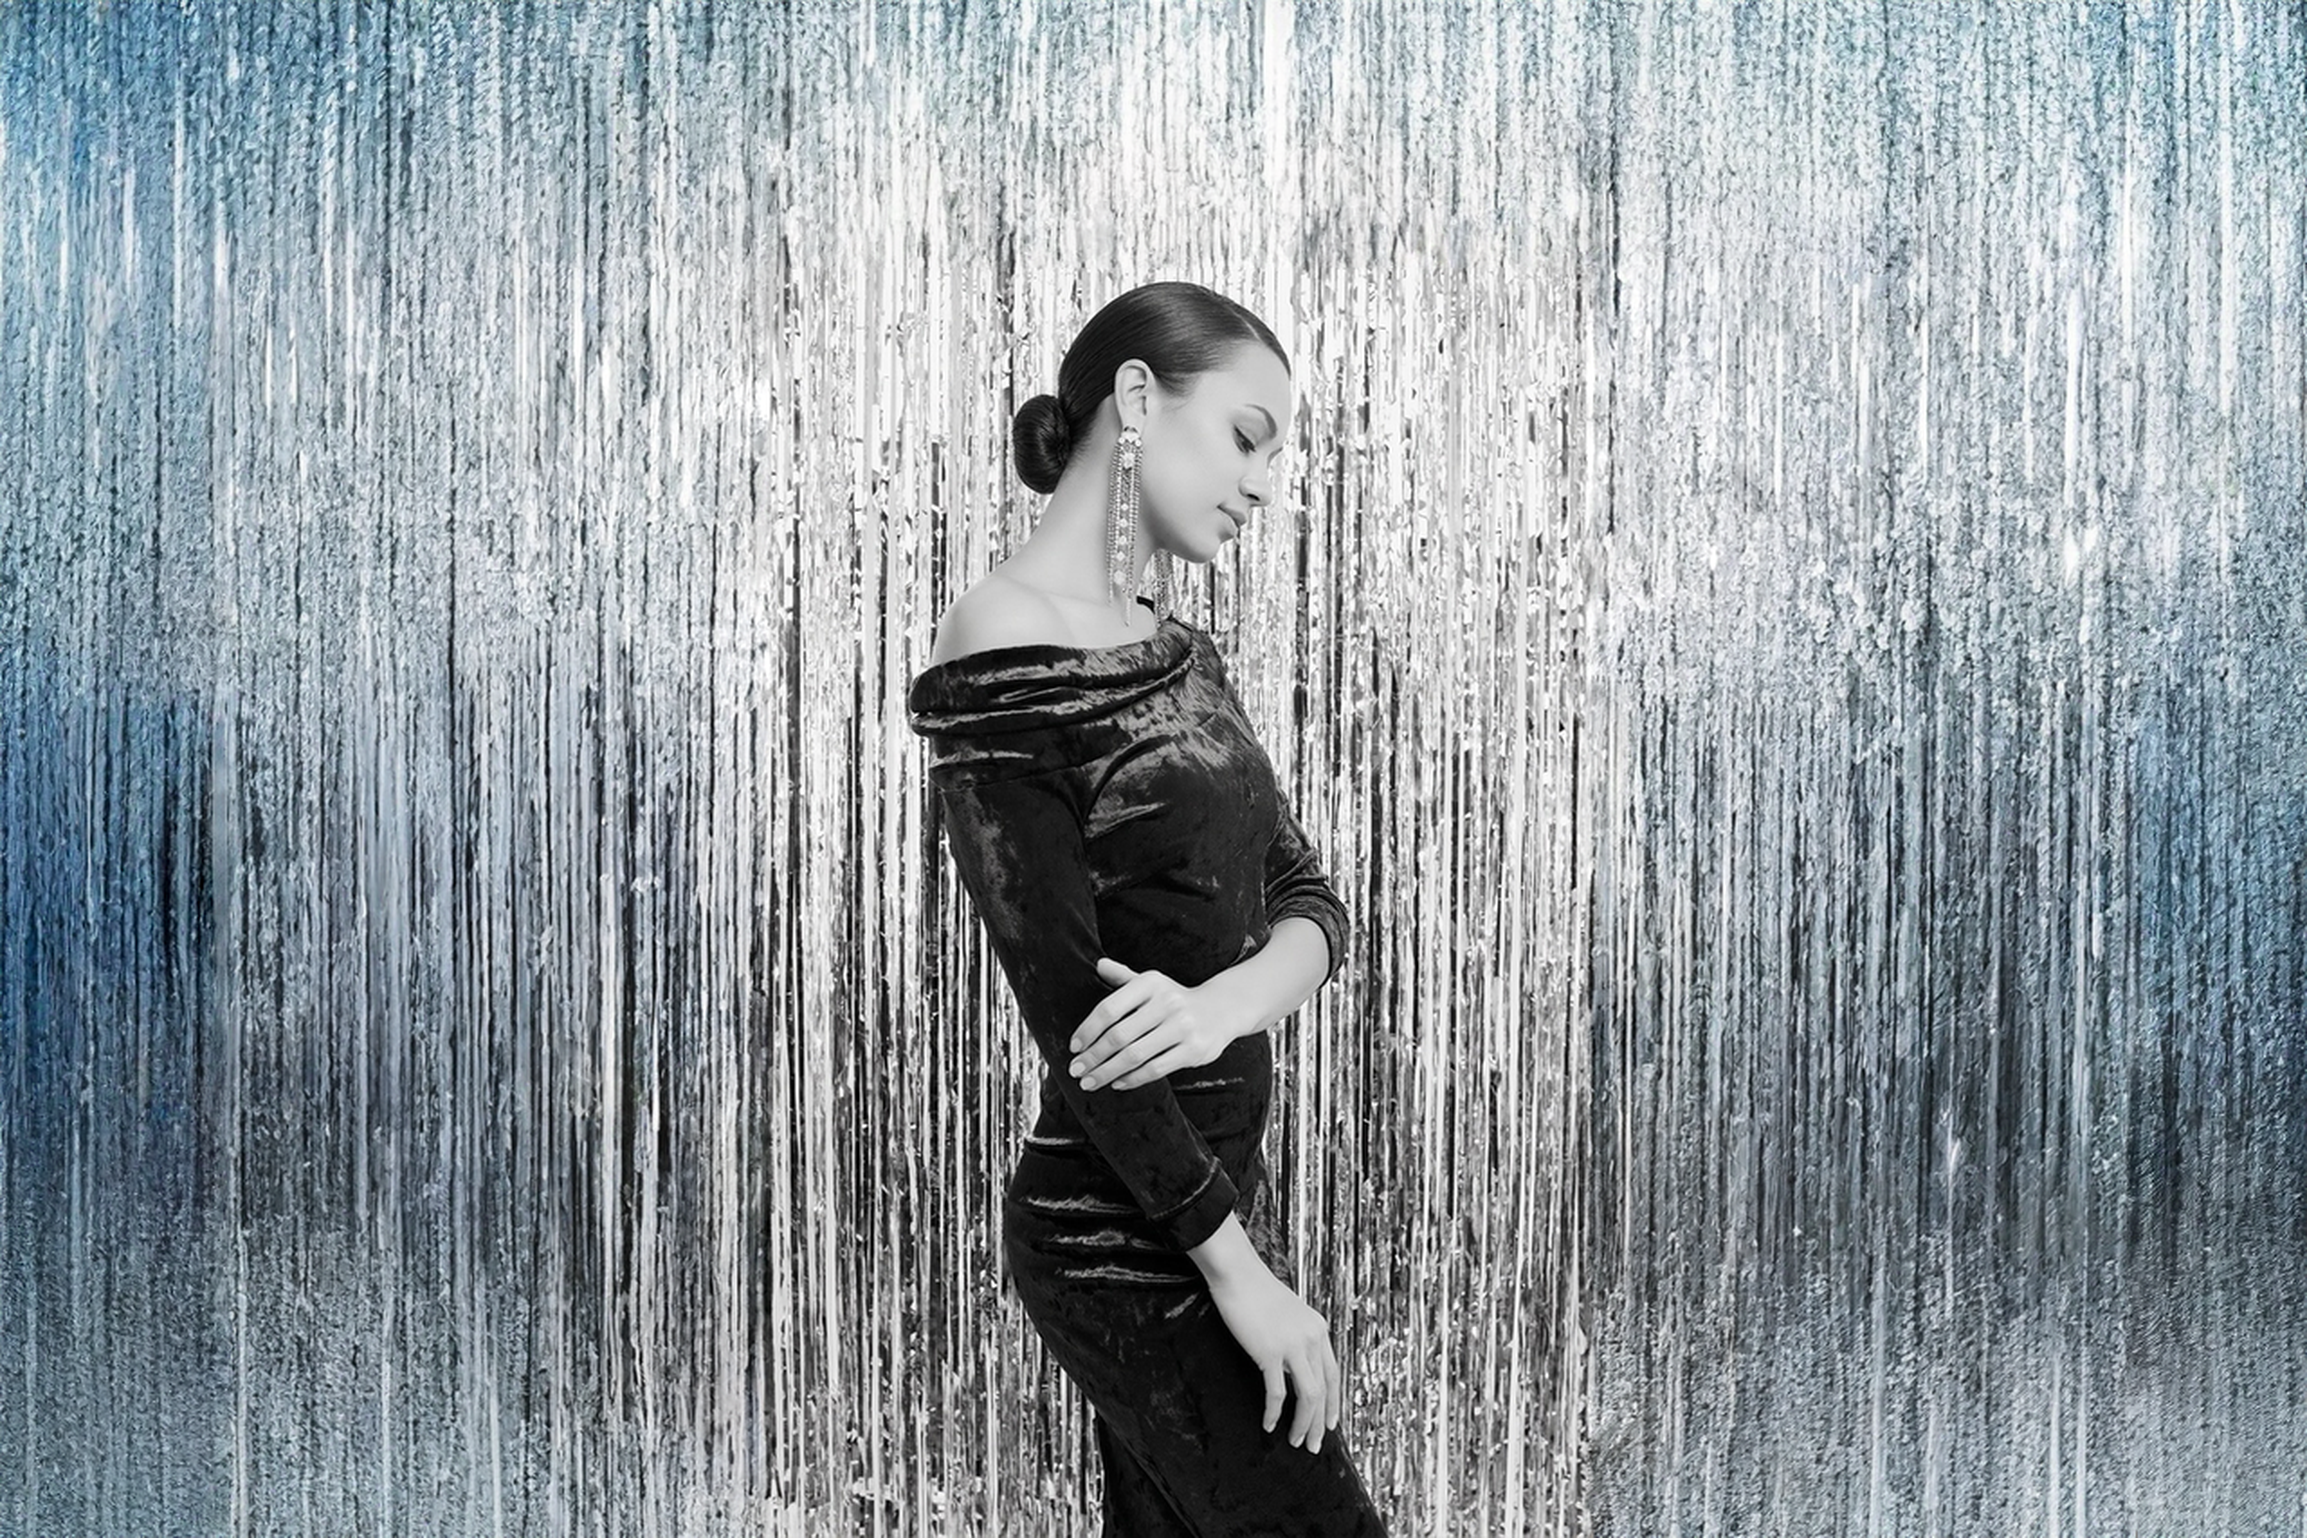

The slick-back bun has become one of those styles clients ask for constantly because it looks effortless, expensive, and clean. You see it on runways, red carpets, and "off-duty model" beauty looks. But behind the chair, stylists know the truth: a good slick-back bun is not just hair pulled tight with gel.
The difference between sleek and greasy-looking is technique.
Done well, it makes your face look lifted, your outfit look sharper, and even second or third-day hair look intentional. Done poorly, it can flatten the head shape, expose every bump, and make the hair look heavy instead of polished.
Here is how stylists approach it.
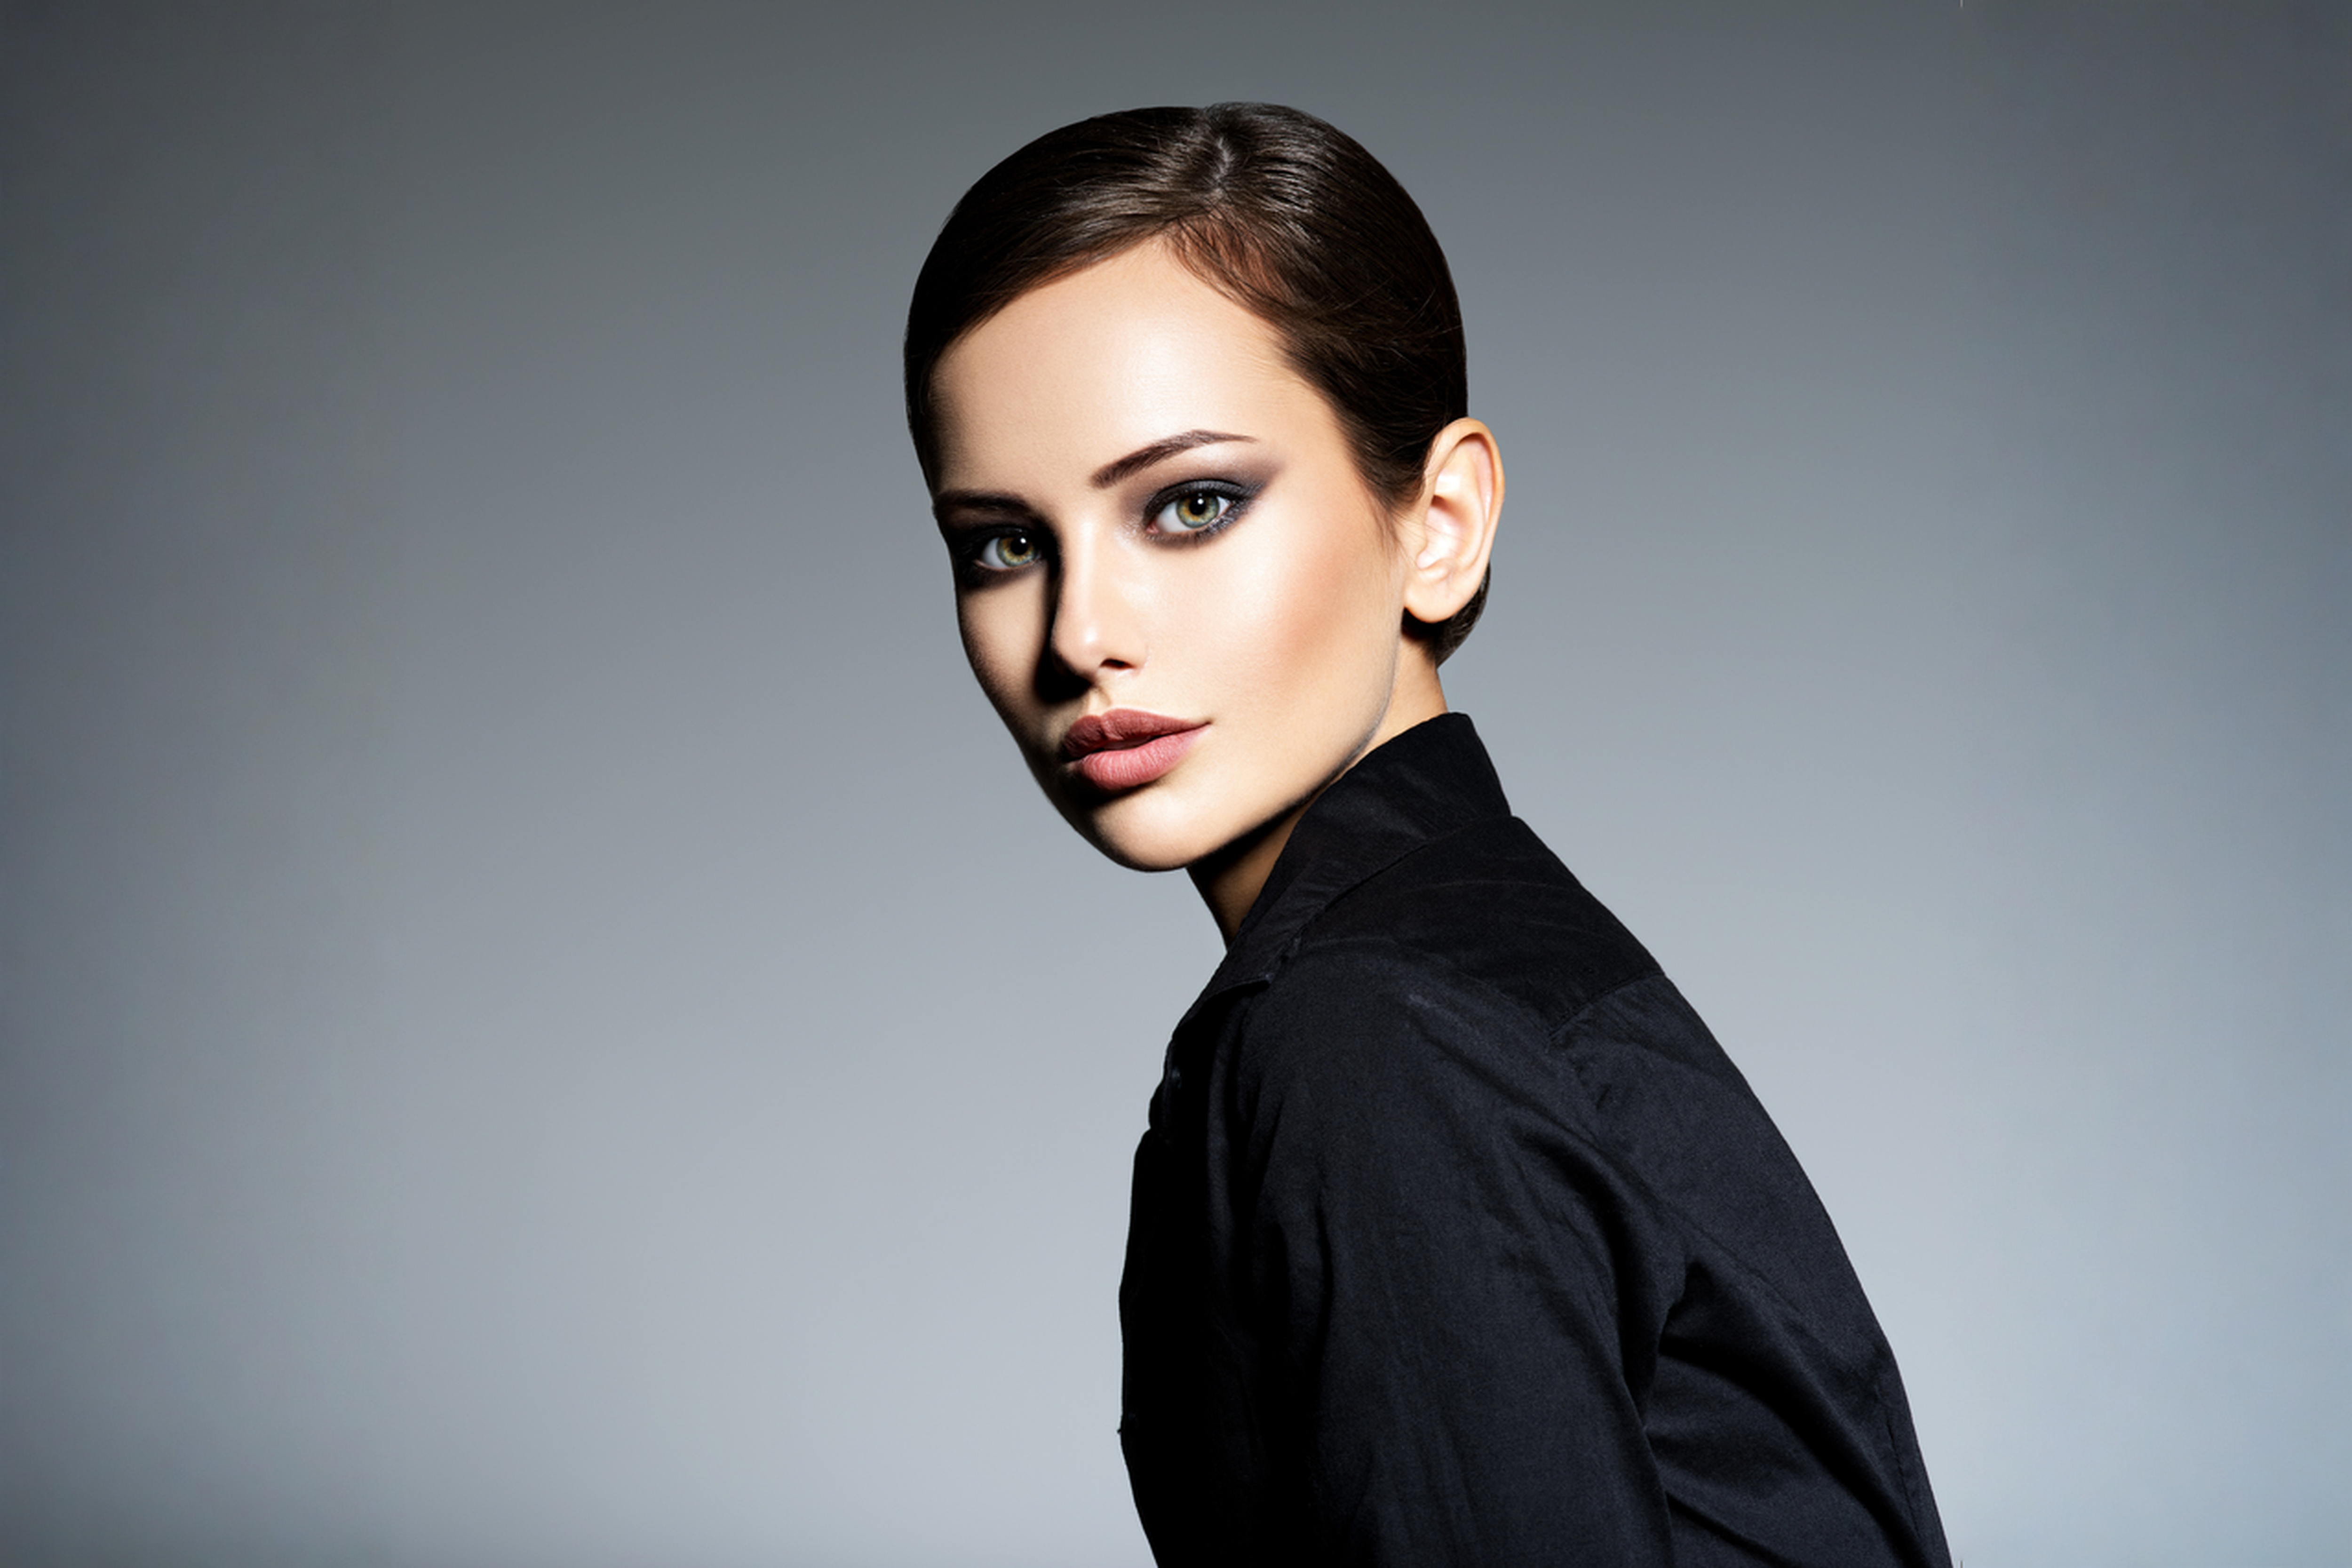
Start With the Right Kind of Hair
A slick-back bun actually works best when the hair is not freshly washed. Slightly oily roots can help the hair stay in place, which is why this style is perfect for days when your hair is due for a wash but you still need to look put together.
That does not mean the hair should feel dirty or overloaded with product. Think of this as a controlled, polished finish rather than a cover-up. If your roots are very oily, use a small amount of dry shampoo first, let it sit, then brush it through before styling.
The goal is grip, not buildup.
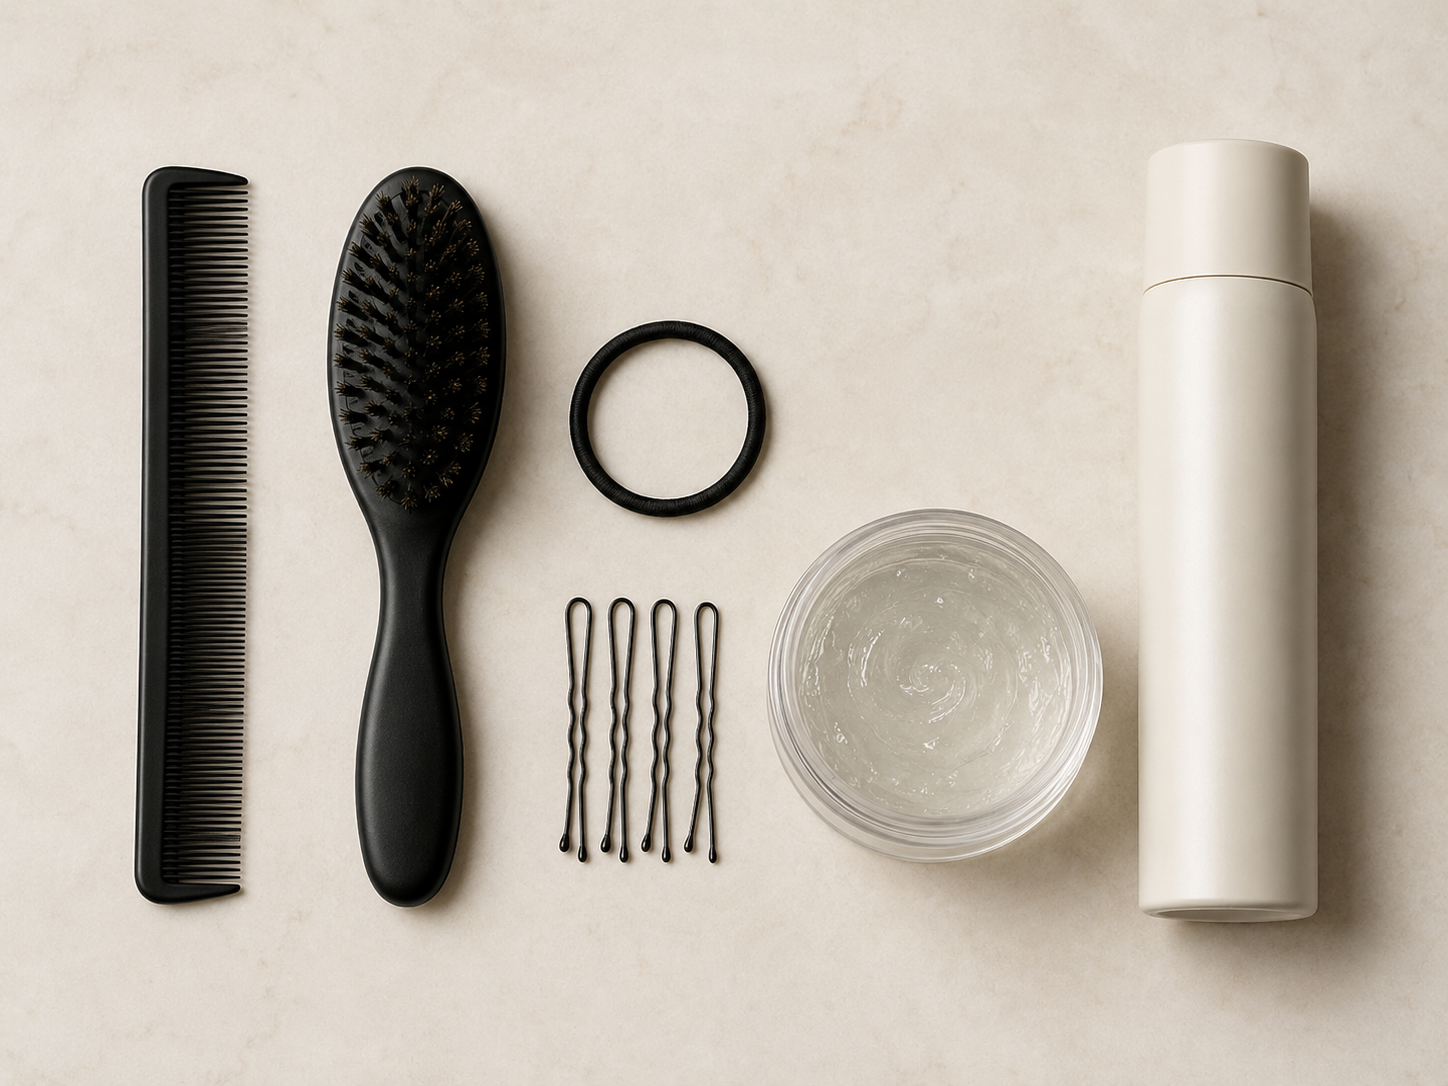
What You Need
- Fine-tooth comb: for drawing a clean center part
- Smoothing brush: for controlling the surface and brushing the hair back without bumps
- Hair tie: to secure the ponytail base
- U-pins or bobby pins: to hold the bun shape without bulk
- Styling product: gel, wax, pomade, or smoothing balm depending on your hair type
Optional: Dry shampoo if the roots look too oily or separated. Use it before styling, let it sit, then brush it through. You still want some natural grip, that is what helps this style hold.
Choosing your product: Thicker or frizzier hair usually needs stronger hold. Fine or already-oily hair needs less. The goal is to smooth the hairline, sides, flyaways, and nape, not coat the entire head.
The stylist rule: shape first, product second. The brush creates the polish. Product should only refine it.
Step 1: Create a Clean Middle Part
The part is one of the most important details in this look.
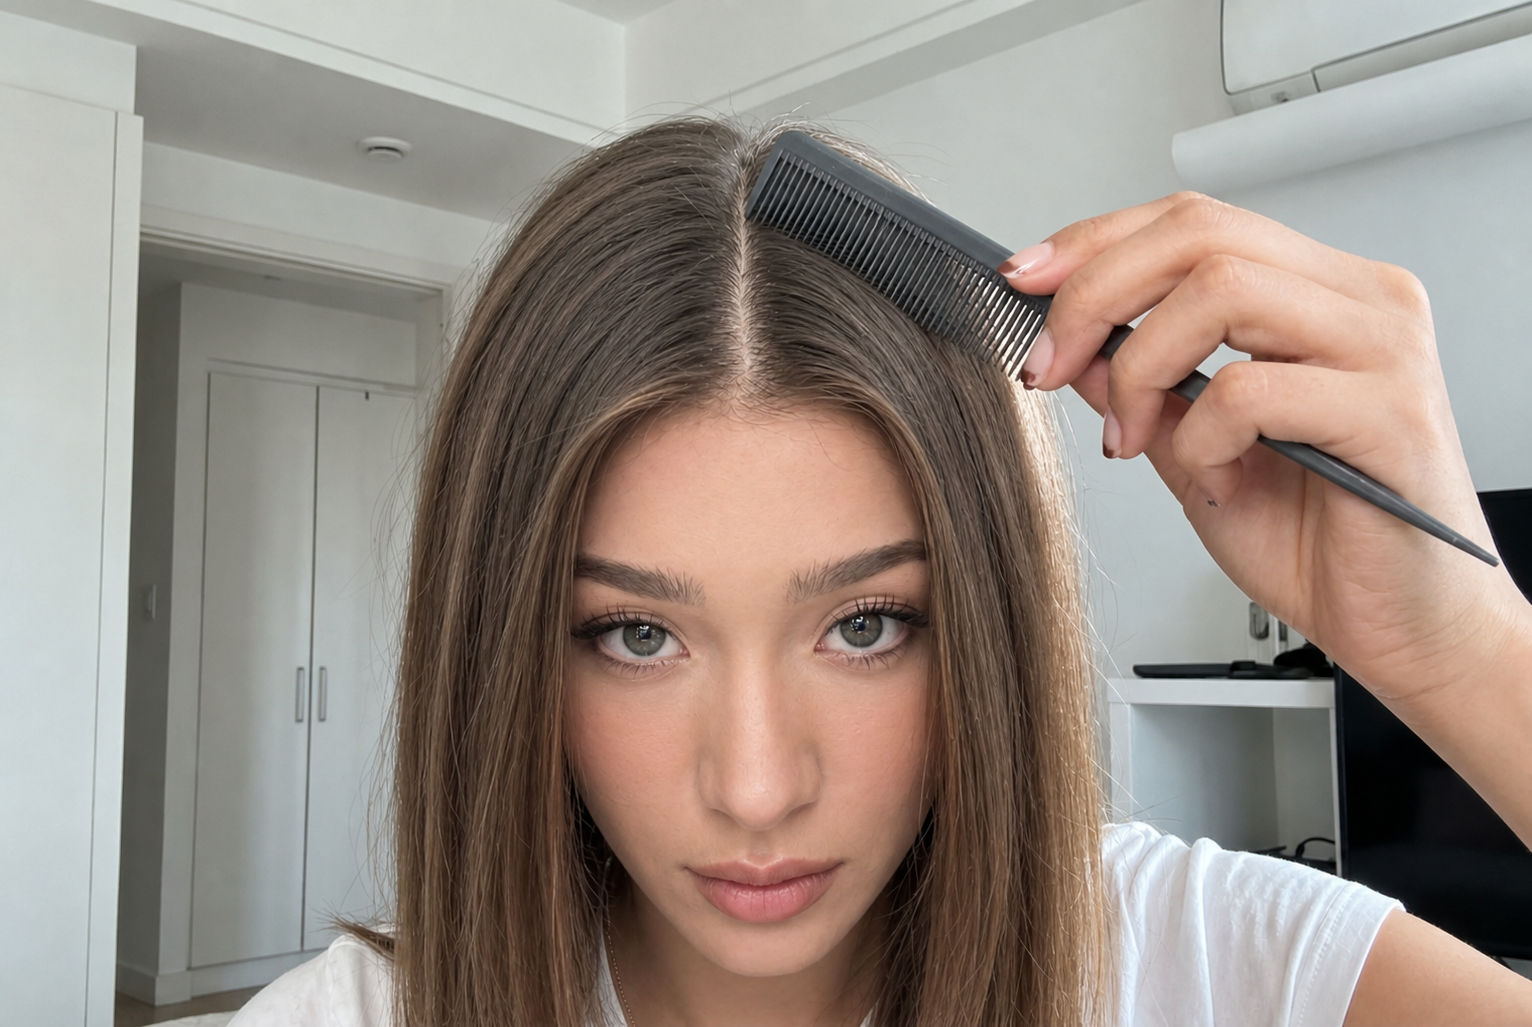
Use the tail end of a fine-tooth comb to draw a straight line down the center of your head. Then separate the hair evenly on both sides. A clean part immediately makes the style look more intentional.
Stylists usually start by perfecting the part before touching the rest of the shape. If the part is uneven, the finished bun can look rushed, even if everything else is smooth.
Step 2: Brush From the Part Outward
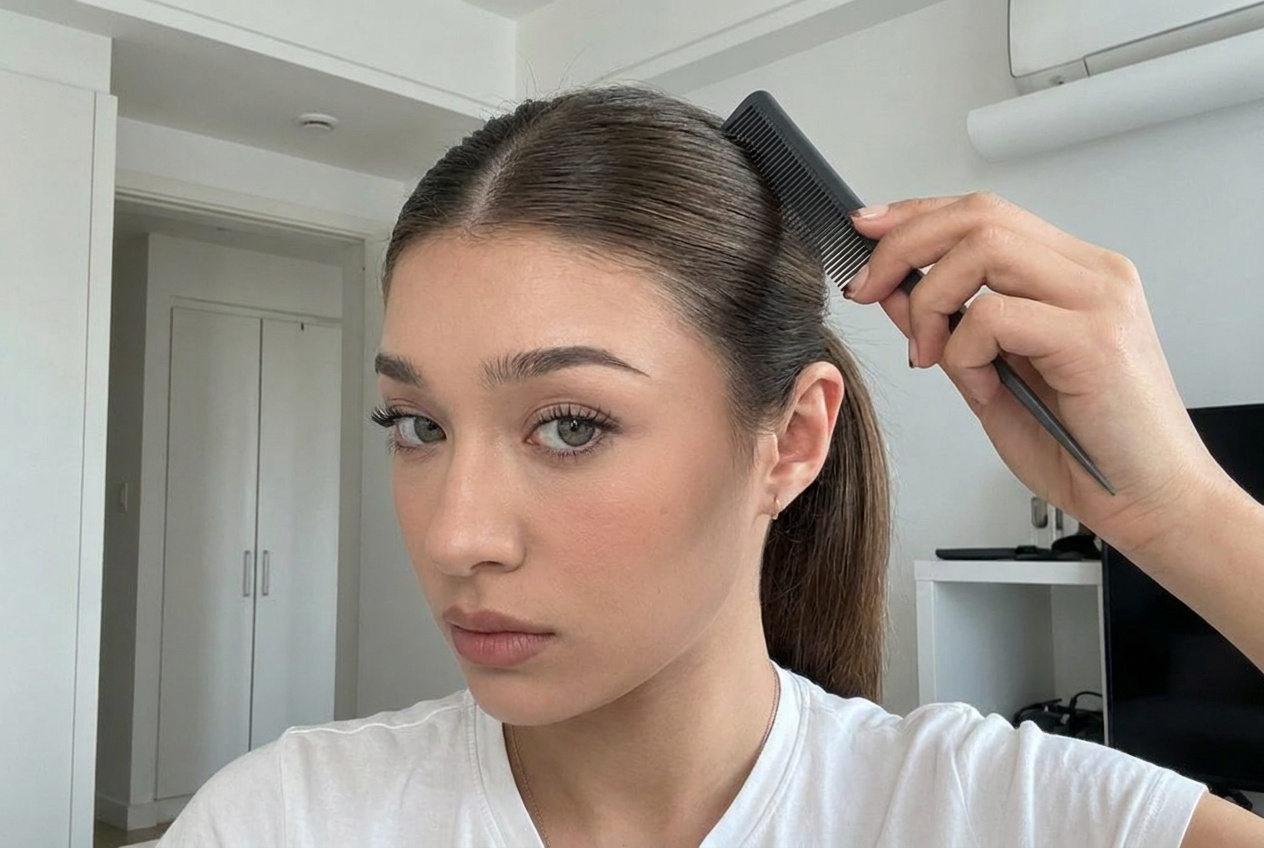
Once the part is set, brush the hair away from the center part on both sides. This keeps the top looking smooth and symmetrical.
Do not just brush everything backward right away. That can blur the part and create bumps near the crown. Instead, work from the part outward, then guide the hair back into the direction of the ponytail.
This is the step that gives the slick-back bun that clean, sculpted look.
Step 3: Place the Ponytail Slightly Higher
Placement changes the entire mood of the style.
If the ponytail sits too low, the look can feel more severe or formal. If it sits slightly higher, the face looks more lifted and the bun feels more modern.
A good guide: place the ponytail around the middle-back of the head, not too close to the neck and not too high on the crown. You want the bun to feel elegant, not like a ballet bun or a gym bun.
Tie the hair securely, but do not pull so tightly that the scalp looks strained. A slick-back bun should look polished, not uncomfortable.
Step 4: Lift the Crown Before You Finish
This is the stylist trick most people skip.
After tying the ponytail, look at the top and crown area. If everything is pulled too flat, gently loosen the crown with your fingers or the end of your comb. Lift it just enough to give the head shape a softer curve.
This makes the style more flattering from the side. It also prevents the slick-back from looking too harsh.
The key is subtlety. You are not teasing the hair or creating volume. You are simply giving the head shape a little balance.
Step 5: Twist the Bun and Secure It With Pins
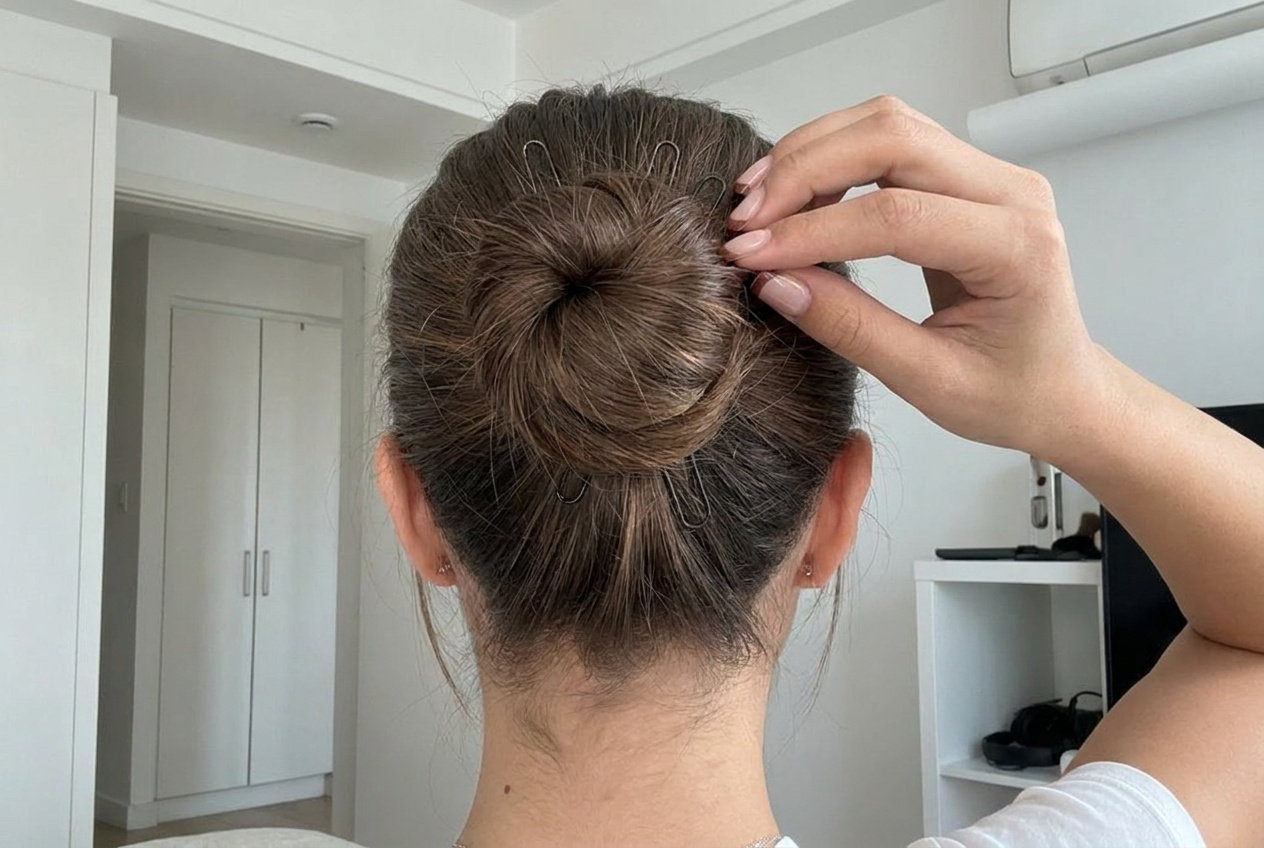
Twist the ponytail into a bun and wrap it around the base. Keep the shape tight enough to stay in place, but not so tight that it becomes tiny and stiff.
Secure the bun with U-shaped pins, especially at the top and bottom. U-pins are useful because they hold the shape without creating the bulky feeling you sometimes get from too many elastics.
After pinning, gently pull the bun outward a little. This makes it look fuller and more natural. A slick-back bun does not need to be huge, but it should have shape.
Step 6: Smooth the Hairline, Sides, and Nape
This is where the style becomes truly sleek.
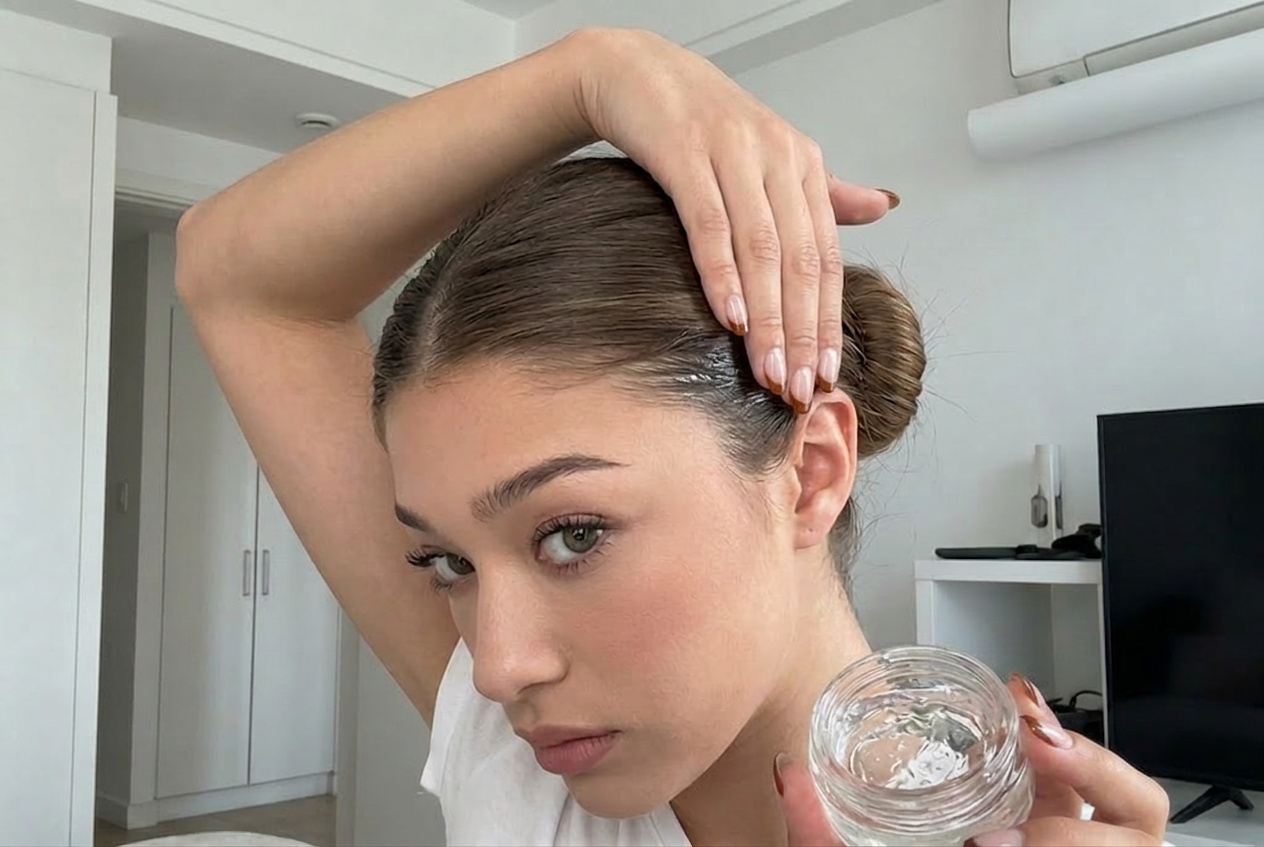
Use a small amount of gel, wax, or pomade and smooth down the short hairs around the hairline. Work in thin layers. It is better to add a little more product later than to start with too much and make the roots look oily.
Brush the sides down and back so the hair follows the shape of the head. Then check the back of the neck. Those small hairs at the nape are often what make a slick-back style look unfinished.
Brush them upward toward the bun and set them with product.
From a stylist's perspective, the back matters just as much as the front. You may not see it in the mirror, but everyone else does.
Step 7: Soften the Look If Needed
A very clean slick-back can look chic, but it can also feel intense depending on your face shape, outfit, or occasion.
For a softer finish, pull out two tiny pieces near the sideburns or in front of the ears. Keep them minimal. The point is not to create loose tendrils everywhere, but to break up the severity around the face.
This works especially well if you want the style to feel more wearable for daytime.
Common Mistakes Stylists Notice
The biggest mistake is using too much product at the roots before the hair is shaped. Product should refine the style, not do all the work. Brush and tension create the foundation. Gel or wax creates the finish.
Another common mistake is pulling the hair straight back without considering head shape. A little lift at the crown makes the style look more flattering and less flat.
The third mistake is ignoring the nape. If the front is sleek but the back has loose baby hairs sticking out, the look loses its polish.
Finally, avoid making the bun too tight and tiny unless that is the exact look you want. A slightly fuller bun usually feels more elegant and less severe.
The Stylist Takeaway
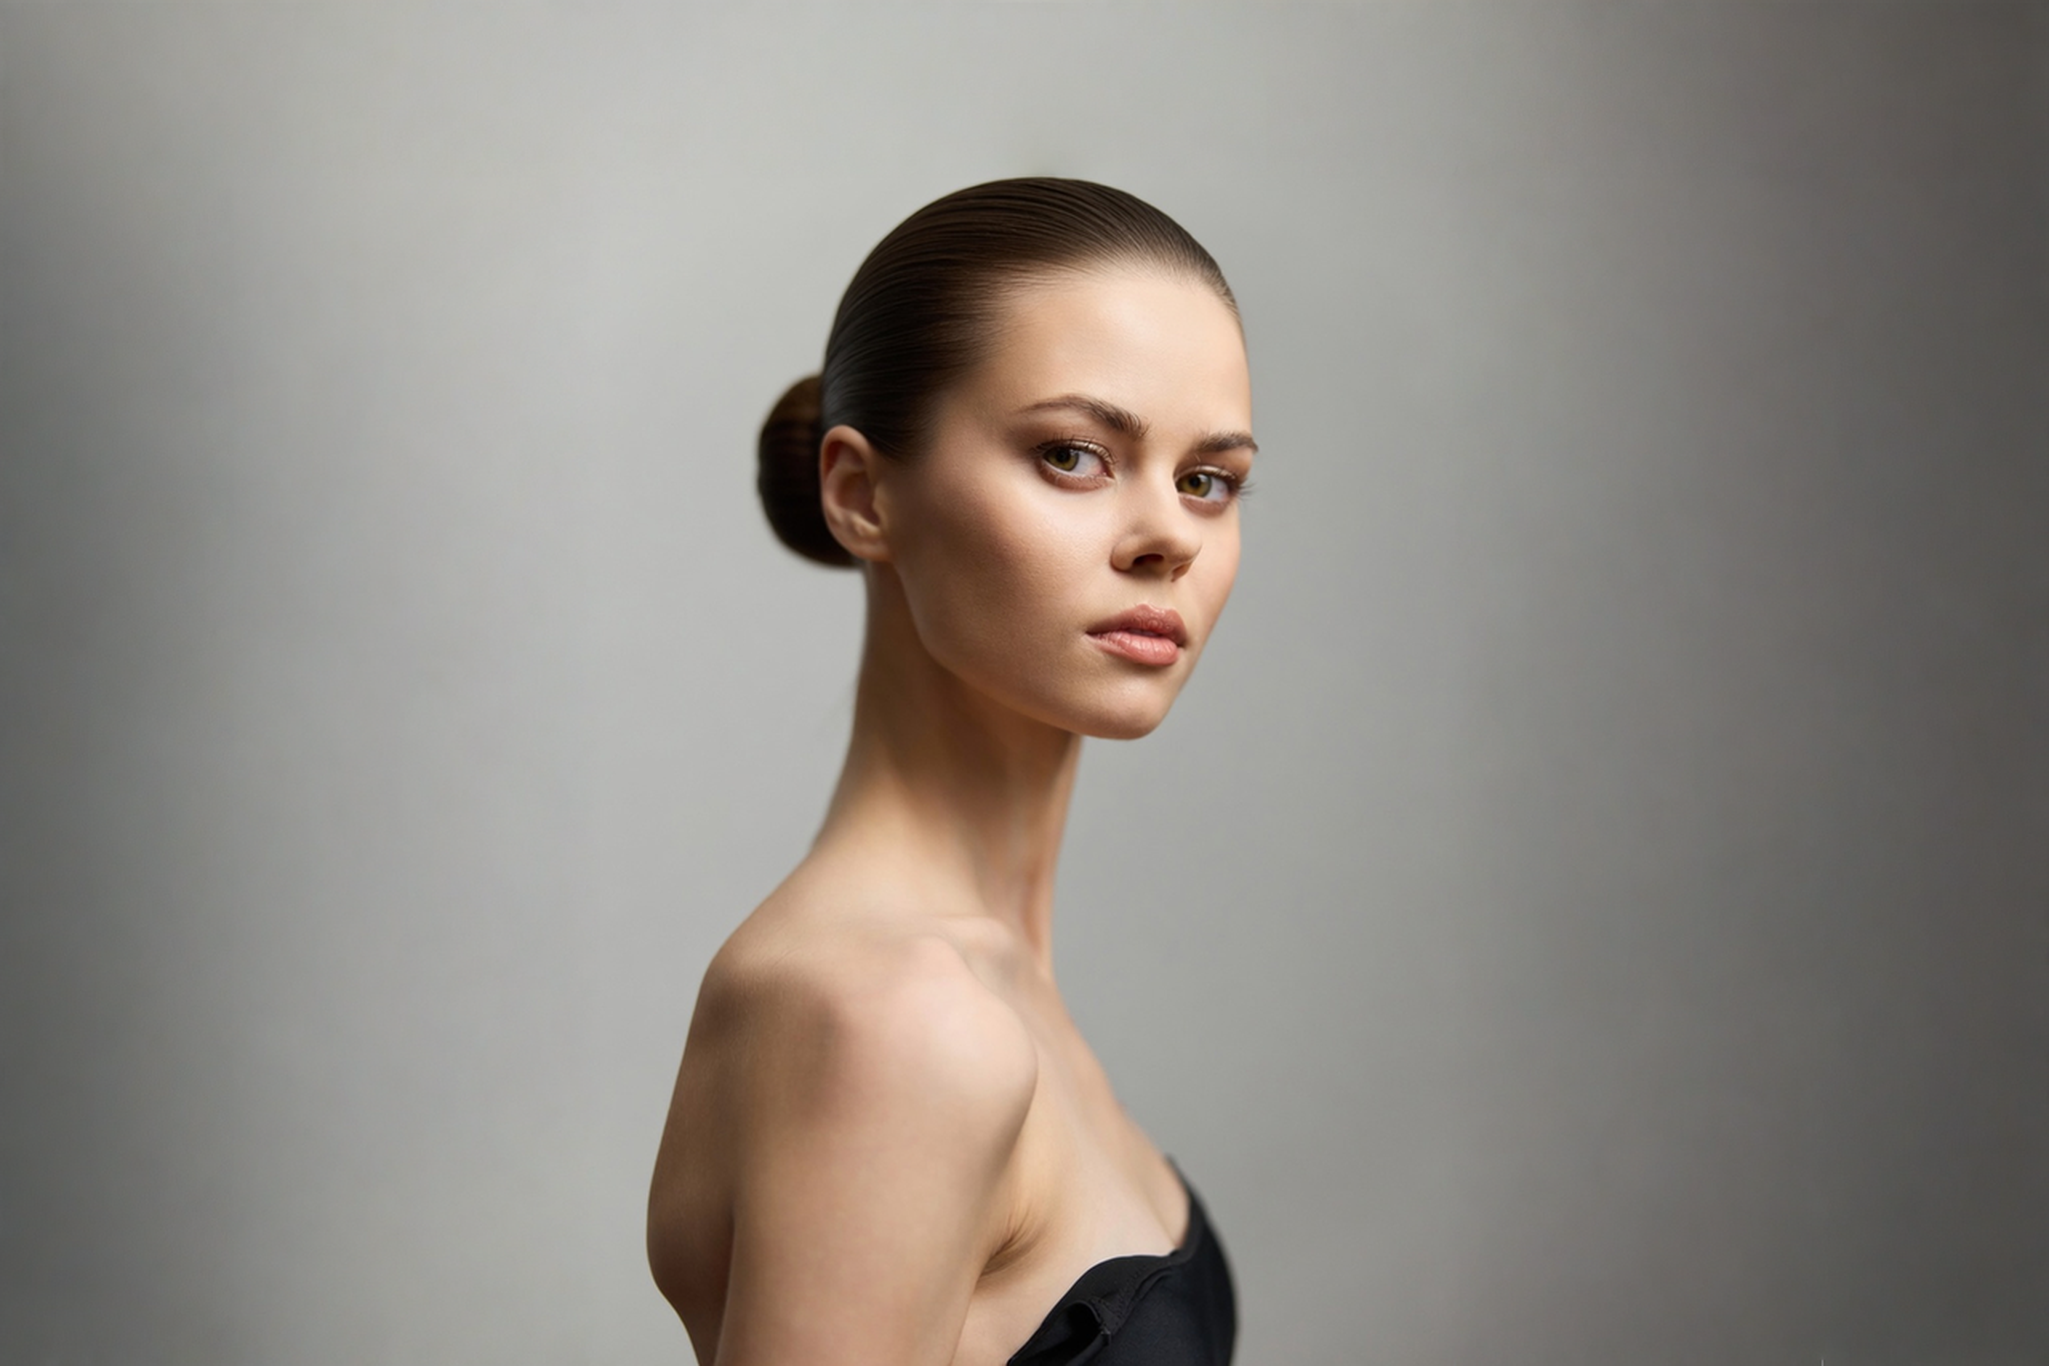
The slick-back bun is not just a no-wash day shortcut. It is a styling technique that turns natural root oil, controlled tension, and careful smoothing into a polished finish.
The clean part makes it sharp. The lifted crown makes it flattering. The smooth hairline and nape make it look professional. The bun shape keeps it modern.
So the next time your roots feel a little oily, do not automatically reach for a hat. Pull the hair back, sculpt the shape, smooth the details, and make it intentional.
A good slick-back bun should not look like you are hiding your hair.
It should look like you meant to wear it that way.